Company Settings
Configuring The Company
Before you can successfully use the plugin it is necessary to complete the information in the Company tabs.
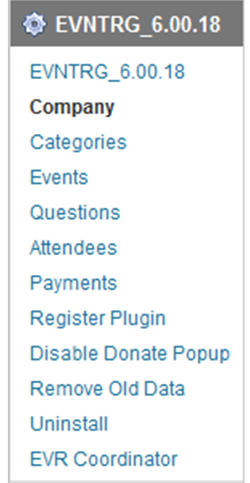
The Company Settings control most of the major functionality and character of the plugin, particularly in how it is viewed on the plublic side. Locate the Event Registration Navigation menu in left side of the Admin panel. Click on the “Company” link.
This area is divided into eight tabs: Contact Info (all required fields), Payment Settings, Captcha, Page Config, Confirmation Settings, Waitlist, Calendar, Tax and Done.
The setup of your company is fairly straight forward. Complete each section and click to the tab title to move between tabs. Once you have completed all information, press the Update Company Settings button located below the tabs.
This area is where you provide information that is used throughout the plugin. This information is displayed on-screen if you accept checks for mailing checks. The Primary contact email is used for all email notifications and registration confirmations. Please complete each area. For international locations, you can substitute your provice for State.
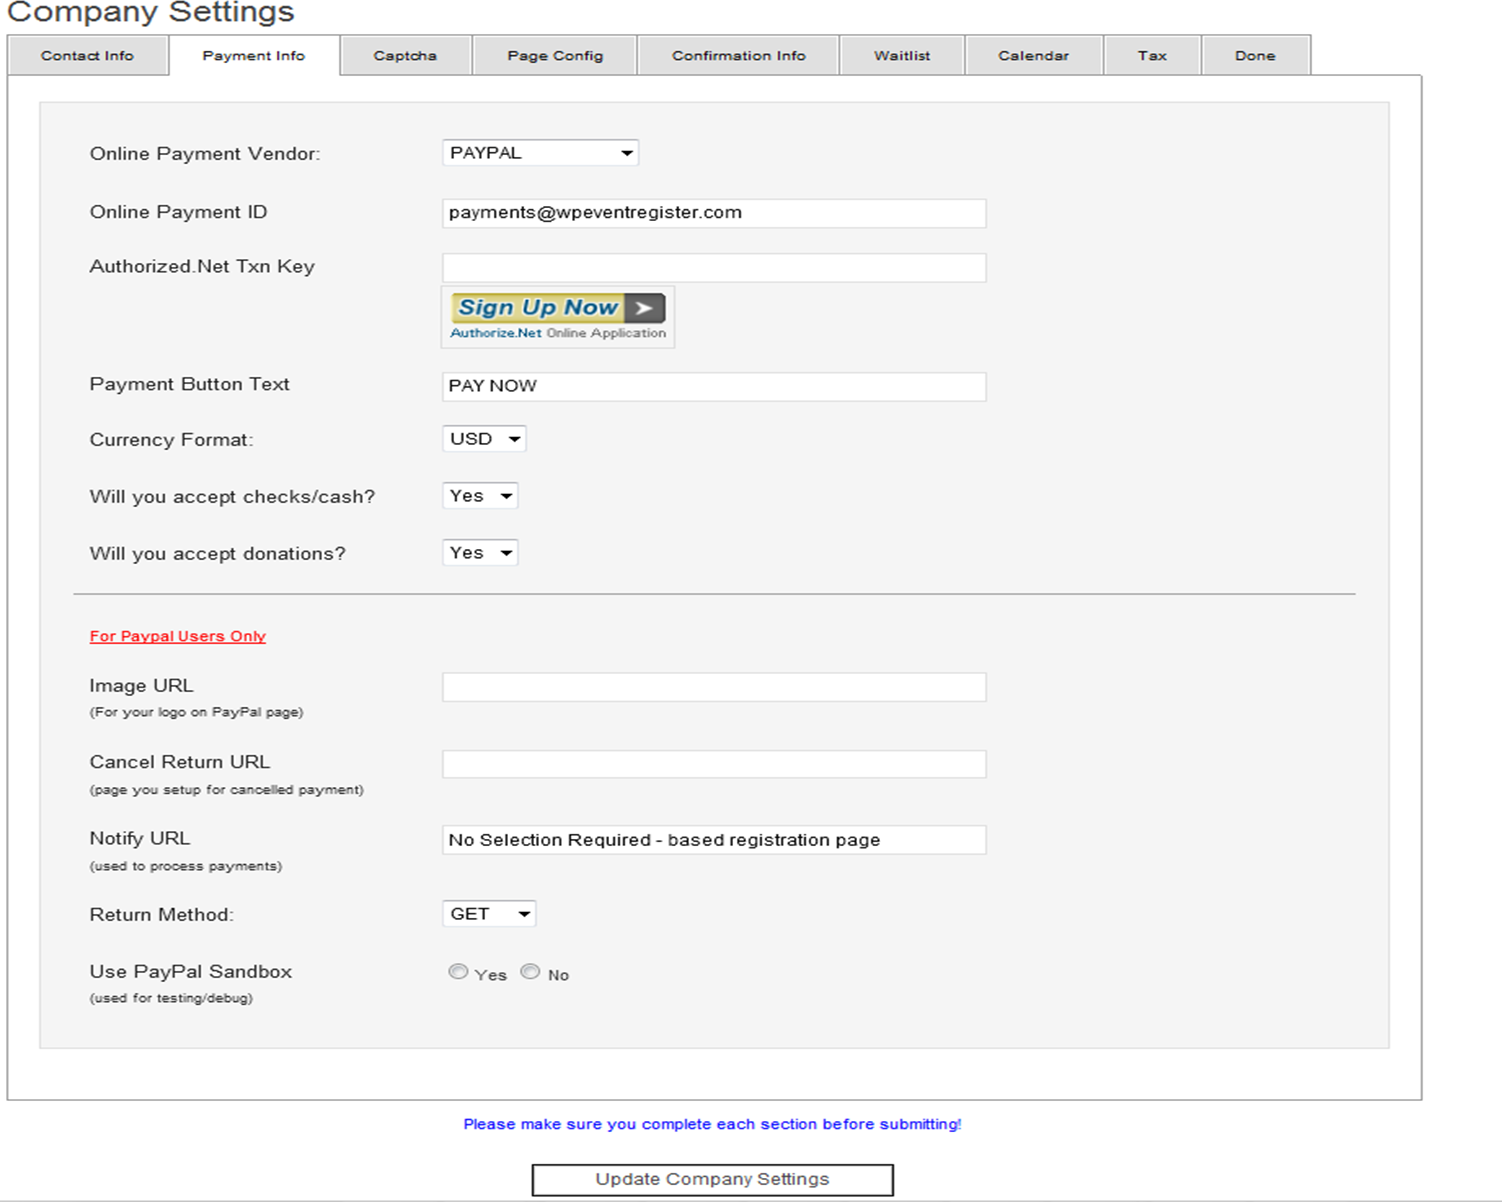
The Payment Settings tab defines how your registration system will handle attendee payments. The plugin supports online payments through Paypal, Google Pay, Authorize.net and has future capability for easily adding a custom payment solution. If you currently do not wish to accept online payments, you can choose None.
If you choose to utilize online payments, you should have an ID provide by your payment vendor. For Paypal this is typically your email address. For Google, this is a unique ID number. For Authorize.net, you will need your ID number plus and an additional transaction key (leave blank for all other payment forms)
The Payment Button Text allows you to customize the button that appears on the registration form.
The lower portion of this tab is for those who are using PayPal settings,(you should only change these things if you really know what your doing! All others can leave this area blank.
The image URL is for a custom logo you wish displayed on your PayPal page when your users pay.
The Cancel Return URL is the URL your users will be returned to if they select cancel from the PayPal site. Some people prefer to create a special page with a customized message for those who do not complete the payment process.
Sometimes people do not complete the payment and will need to return at a later date. In order to allow them to return, retrieve their payment info and pay, you will need to provide a return URL. To do this, simply create a new page on your site and place [EVR_PAYMENT] in the body section, in HTML view. Then paste the link to this page in the Notify URL. This will allow the link with a unique key to allow an attendee to return and see their information and make a payment. They can also return and see their payments made, provide you post the payments in the system.
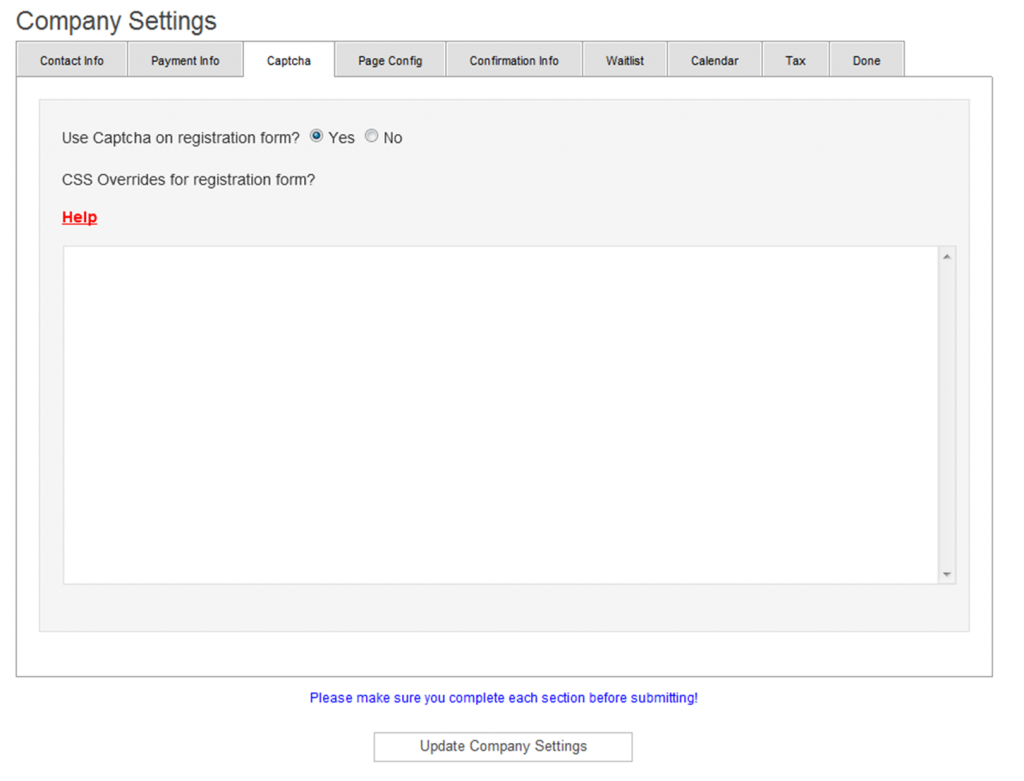
The third tab, Capcha, allows you to have Captcha security on your registration forms. Enable this option if you find you are getting a number of spam registrations. There are approximately 190 images that randomly rotate on the registration page.
Additionally on the Captcha tab is a new feature, CSS Overrides. There are thousands of themes available and it is impossible to code forms to be consistent accross them all, sometimes you will need to override how your them displays form fields and layout. By putting in your CSS here, it is inserted just before the registration form and will only affect the registration form and not the rest of your site. This is handy in not having to edit your theme or themes.
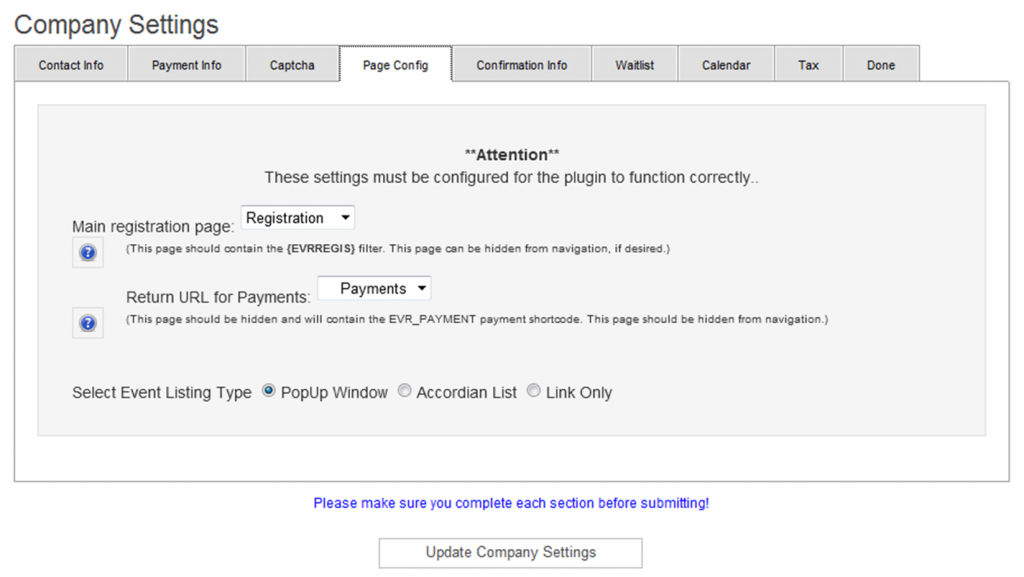
The fourth tab, Page Config is essential for the plugin to operate. Without proper completion of this tab, the registration form will not display or work. When you activated the plugin, you should have followed the setup steps and created two pages, one for registration and one for payments. If you have not done this yet, save your work and go and do this now, before completing this tab.
The registration page should have the shortcode {EVRREGIS}. If you used a previous version of this plugin, you will need to replace the shortcode with the new one. This page should be set to public as it will be your primary registration page. Select the page from the dropdown selection that you placed the shortcode on. Make sure you put the shortcode in in HTML view.
The Return URL should be the page you put the [EVR_PAYMENT] shortcode in the body. Select the page from the dropdown. This should be the same page you noted in the PayPal configuration on the previous tab. This page can, and generally should be hidden from navigation. Make sure you put the shortcode in in HTML view.
The Select Event Listing Type is a new feature that allows you to control how the event list operates. The plugin by default uses the built-in WordPress version of Thickbox to display a popup window with event details when you click an event title from the event list. Some themes have compatability issues with the popup, so you can disable the popup by selecting Link Only, this will take the registrant, when clicking on an event link straight to the registration form. *Note the registration form now has a Show/Hide area to display event details.
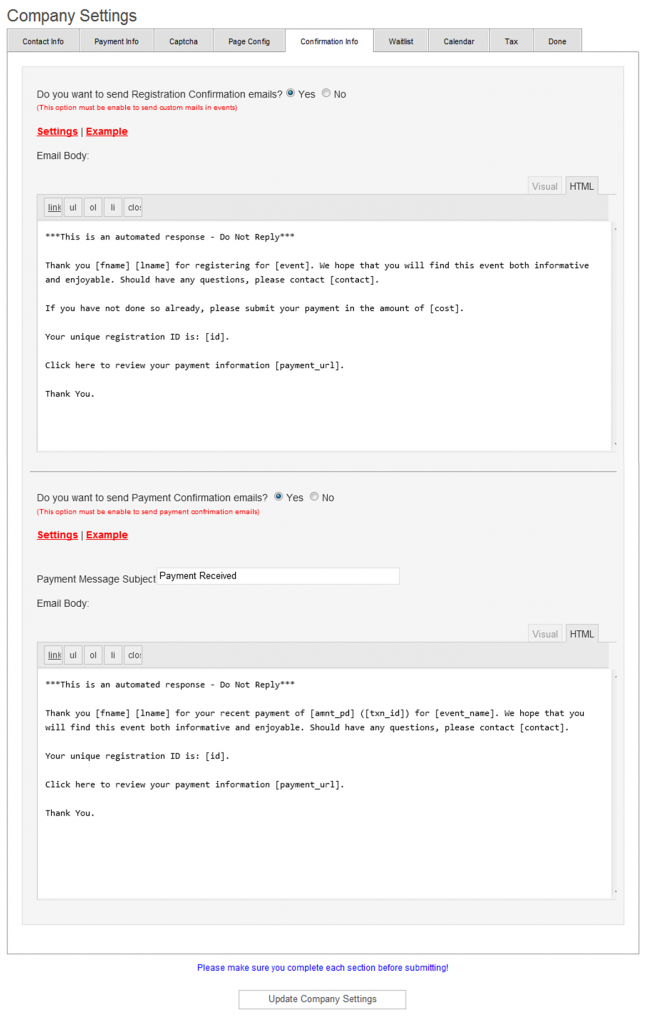
The next secion is for Confirmation Settings. This is the emails that will be sent, if desired, automatically when people register or a payment is processed.
The plugin can automatically send confirmation emails to people when they register. You can select to send or not send emails by each event, but in order to do this, you must enable the feature here for global control (i.e. if this is not enabled, enabling it on a specific event will not work). This uses the builtin wordpress send mail feature.
I recommend you create a default email that will be sent in case you forget to type a custom mail on your event. One of the nice features is that you can pull registration information and include it in the email. Currently the plugin supports the following tags: [fname], [lname], [phone], [event],[description], [cost], [company], [co_add1], [co_add2], [co_city],[co_state], [co_zip],[contact], [payment_url], [start_date], [start_time], [end_date], [end_time]
A sample email would look like this:
***This is an automated response – Do Not Reply*** Thank you [fname] [lname] for registering for [event]. We hope that you will find this event both informative and enjoyable. Should have any questions, please contact [contact]. If you have not done so already, please submit your payment in the amount of [cost]. Click here to reveiw your payment information [payment_url]. Thank You.The plugin features a wysiwyg editor for formating text areas.
Popup Help is available on the Confirmation Settings tab.
For payment emails, there are a few different as well as the standard data codes for putting data into the email. Please refer the the help popups for specific details.
Payment Confirmations:
For customized payment confirmation emails, the following tags can be placed in the email form and they will pull data from the database to include in the email.
[id],[fname], [lname], [payer_email], [event_name],[amnt_pd], [txn_id],[address_street],[address_city],[address_state],[address_zip],[address_country],[start_date],[start_time],[end_date],[end_time]
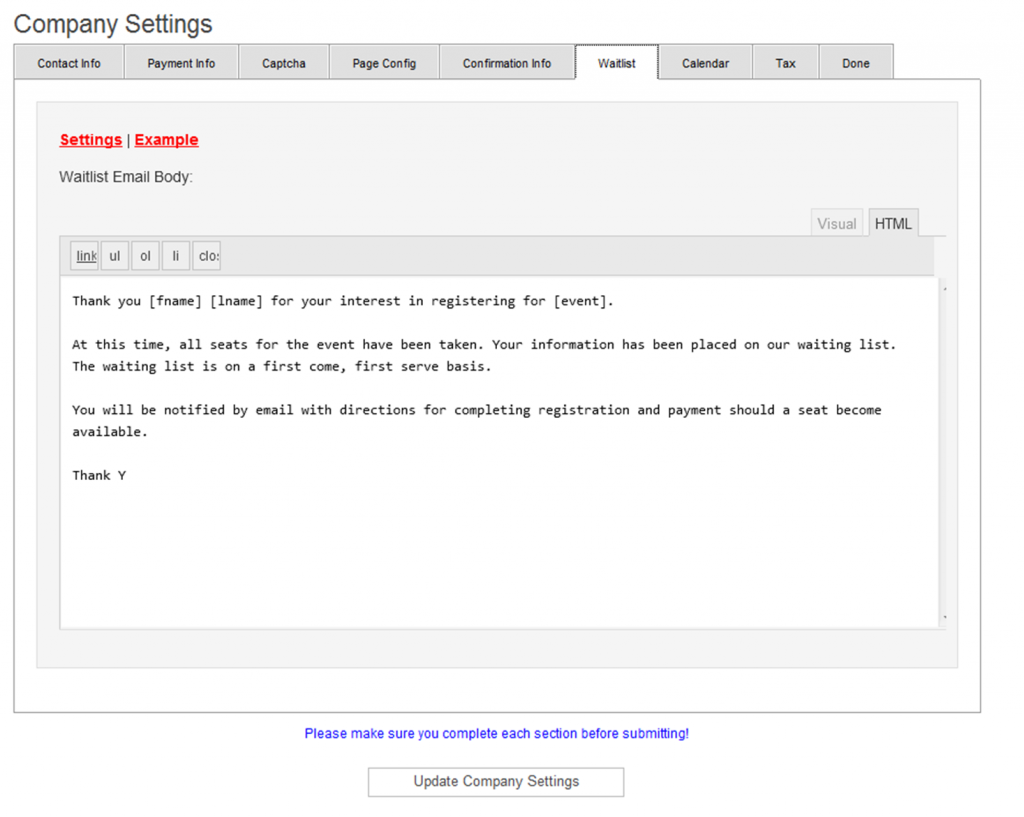
***This is an automated response – Do Not Reply*** Thank you [fname] [lname] for your recent payment of [amnt_pd] ([txn_id]) for [event_name]. We hope that you will find this event both informative and enjoyable. Should have any questions, please contact [contact]. Your unique registration ID is: [id]. Click here to review your payment information [payment_url]. Thank You.The next area controls the email that you want sent to people on the waiting list.
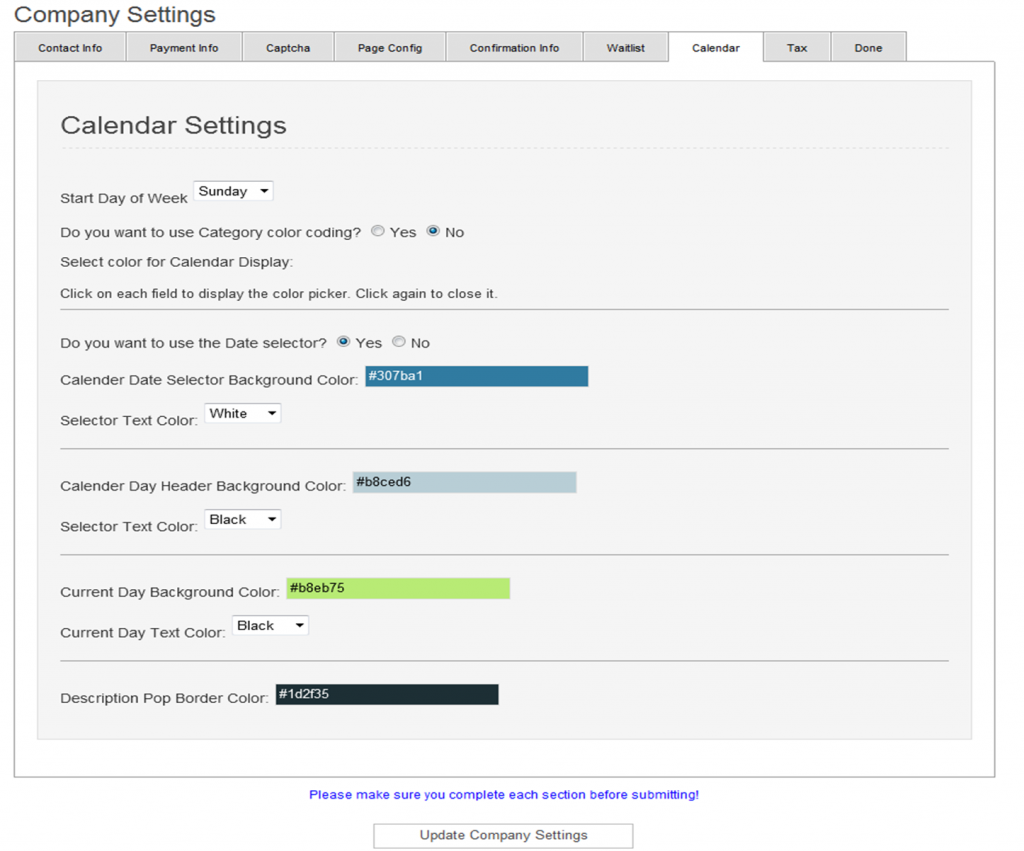
The calendar tab allows you to control the colors in the calendar, allowing you to easily customize the calendar to match your sites theme. More information on the calendar here http://wpeventregister.com/instructions/calendar/.
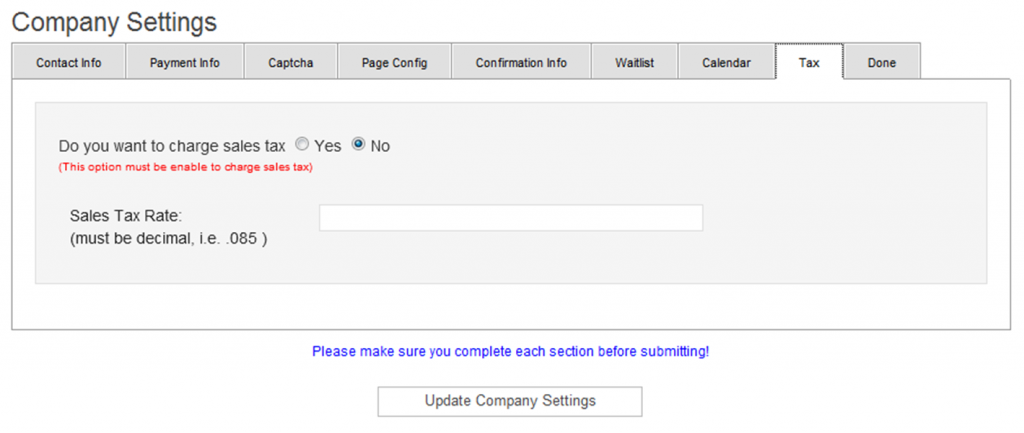
Event Registration supports the ability to charge and collect sales tax as part of the registration process. This is totally optional and should be tailored to your specific tax requirements. To enable tax collection simply select yes and enter a decimal representing the tax rate, i.e. a tax of 8.75 % would be entered as .0875. Do not put a % mark in the field.
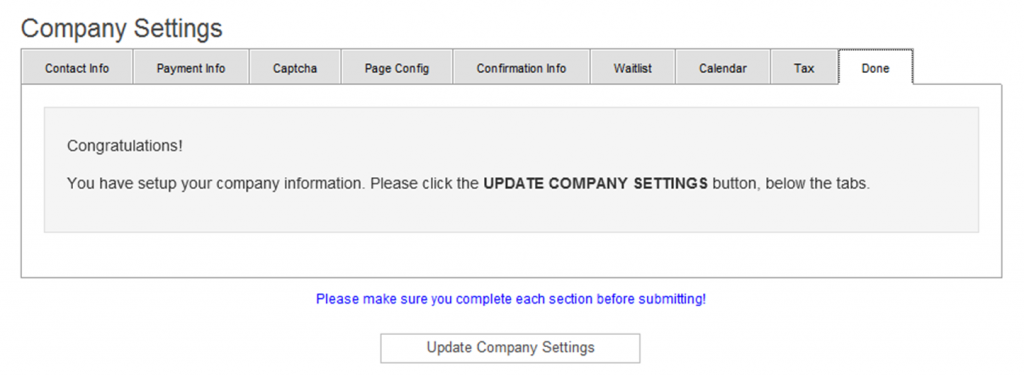
Thats it, your company settings should be all setup and now your ready to create your first event. Press the Update Company Settings button and then go setup some events.

